
How to Solve Ice Damming on Older Homes

In this weekly Q&A column, retired builder/building inspector Cam Allen answers readers’ questions about home renovation and climate resilient homes. Have a question? Enter it in the form below.

One area of a roof that deserves closer attention when it comes to water invasion and structural damage over time is the edge of your roof. The edge of your roof assembly is known as the fascia. It supports your eavestrough, the point where proper edge flashings and self adhesive membrane are installed and your soffit which should contain the venting for your attic. There is a lot involved in this area and it’s often ignored, resulting in what is known as
ice-damming that often results in significant repairs and ensuing costs. An up-close inspection, repairs and replacement of shingles or flashings by a roofer should be done before winter arrives.
The first area to inspect is the shingled section of your roof that leads up from the roof edge to past your wall frame, known as the overhang. I have seen these with minimal width like you find on heritage homes or what are known as victory homes built after WW2. Most of these are 1.5 storey homes. Some have less than a 12-inch extension from the wall to the fascia edge. Modern homes are commonly at least 16 to 18 inches and 24 inches is not unusual.
The issue with homes built with this narrow an overhang is the lack of air flow for ventilation. No ventilation at all as is common on heritage homes or the space between the plate and the rafter has been blocked in. This is a prime location for ice damming to occur and this winter climate effect is the number one cause of water invasion into a home through the attic space.

You can attempt to add venting in the soffit area. Open up the blocking with round vents – you can drill into the blocking and install plug vents or add strip venting. This is only a small part of the issue. You must make sure the air flow has the ability to enter your attic and exhaust the warmer air escaping from your home into your attic. This means properly installed foam baffles and an even layer of insulation, no less than 24 inches thick. In a heritage or victory home this can be difficult if not impossible based upon the roof assembly.
Years ago when I first got into the business of building and renovating homes, I had an excellent roofer, Steve, who had been in the business for many years. He swore by what he called a flat cap flashing or roll eave flashing as I have also heard it called. This type of flashing, properly installed at the eave edge and extending up the roof until it is at least a foot past the walls, was very popular
years ago. The ugly part was the fact there was no such thing as coloured flat roll flashing and after some years this bare metal type of flashing rusted, was not pretty to look at and required constant maintenance. Today we not only have coloured roll aluminum flashing, we have self adhesive membrane called “ice and water shield” and far better sealants than years ago.
If you have a repeated ice damming issue, often more intense on an older two storey or 1.5 storey home then I have a solution for you. The first step is to hire a professional roofer – this is not a job for the average householder, especially if you are working at the height of a two-storey home. This restoration requires you remove the existing shingles up past the wall frame at least a foot. Now confirm that the roof decking is secure and not rotted. Do not be surprised
to find some restorative work needed, especially if ice damming has happened in the past. Repair any damaged decking and then put down a full width layer of self adhesive ice and water shield. Make sure it’s tucked up under the remaining layer of shingles by at least 4 to 6 inches. Now dry fit a full width of continuous roll flat metal flashing.

Get the Green Building Project Checklist
Use this handy checklist on your next project to keep track of all the ways you can make your home more energy-efficient and sustainable.
Today they are usually powder coated, known as Kynar coating and come in numerous colours. If at all possible use a metal flashing at least .024 gauge and if you can get close to .032, all the better. Tuck this flashing in under the existing shingles after you have put down a thick bead of urethane sealant that is compatible for metal to ice and water shield contact. Now carefully lift up the last row of shingles and repeat with another full bead of caulking between the shingles and the metal flashing. Take your time here, this is a very
important seam that needs to be waterproof. Now proceed to the eave edge and repeat this, gently lift up the metal flashing and add another thick bead of sealant. If the flashing is not laying flat you can use roof screws with the neoprene washer and then a dab of caulking over the screw. One tip Steve always did, he put down metal starter strips used for shingles before the flashing was installed and sealed both surfaces. I can see this being a good idea.
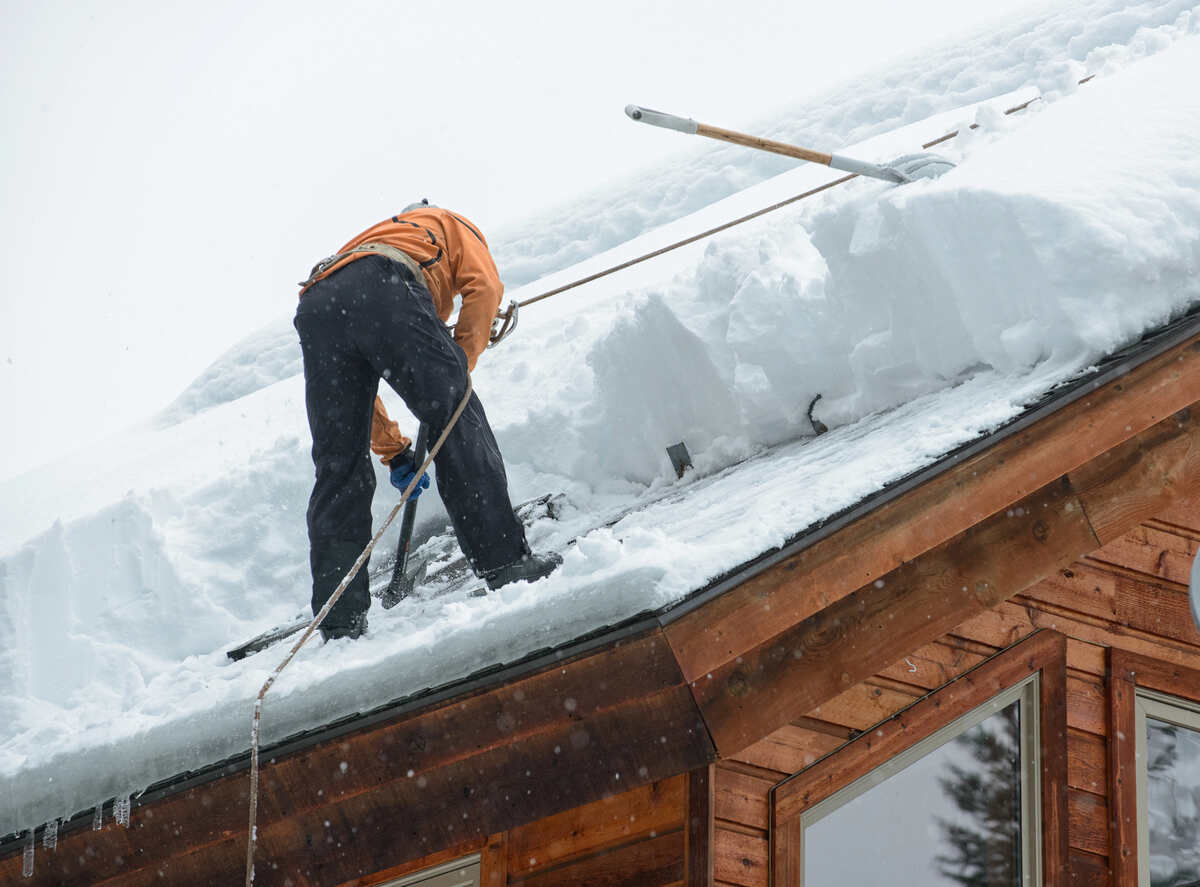
The one area that is usually forgotten when this type of flashing upgrade is done is your eavestrough. You now have a slippery surface all along your roof at your roof edge, commonly 3 to 4 feet wide. Once the snow accumulates and turns to ice, then melts on a warm day or accumulates a lot, you will now have quite a layer of ice/snow slide coming off your roof in a hurry. I have seen more
than one section of eavestrough end up on the ground once this happens. You should get your contractor to take a piece of wood, extend it out over your eavestrough and make sure there is a clear path for the snow to slide off and if not, lower your eavestrough.
If you have a main entrance that is not protected by a door awning or a decorative gable roof, then consider getting your roofer to add a small section of snow rails or snow guards, as they are called on your roof above your door so this snow mass breaks up gradually. With the advent of aluminium roll flashing in numerous colours and sealants that are expected to last 15 to 20 years this upgrade can be waterproof, commonly eliminates most ice damming issues
and does not look unsightly.
Images from Depositphotos
Have a Home Renovation Question?
Write it down below and we’ll get back to you. All questions get answered – every week, we’ll select one for publication in the column.


