
How to Winterize Older Windows

In this weekly Q&A column, retired builder/building inspector Cam Allen answers readers’ questions about home renovation and climate resilient homes. Have a question? Enter it in the form below.

It’s no secret that the cost of maintaining a home is rapidly rising. While there are various claims that this winter’s weather patterns are going to be more subdued, we are still going to see extremes in cold and the number of days where it remains so. Heat escaping around windows and doors ranks as the number one energy loss in most homes. One well known example is if you have a ⅛” gap at the bottom or threshold of your entrance door, this translates into a constant 2.25” hole in the wall of your home for energy loss. Older single pane windows and early thermal slides are known to leak anywhere from 15-25 percent of the heat in your home.
Even if you have energy-efficient windows, after 15 years they begin to deteriorate, the film decays and they start to lose their efficiency. The first step to improving efficiency in your windows are the known steps. Inspect for air leaks and this is actually quite easy to do. Take a candle and slowly move around the frame of each window in your home, anytime the flame flickers
you have an air leak. Use a pencil to mark the spot and continue on.
Proper sealants, weatherstripping and draft snakes do work. If you notice a lot of air movement, carefully remove your window trim and check the space between the window and the rough opening wood frame. If your home is older this space can range anywhere from paper or fibreglass insulation stuffed in the space to nothing at all.
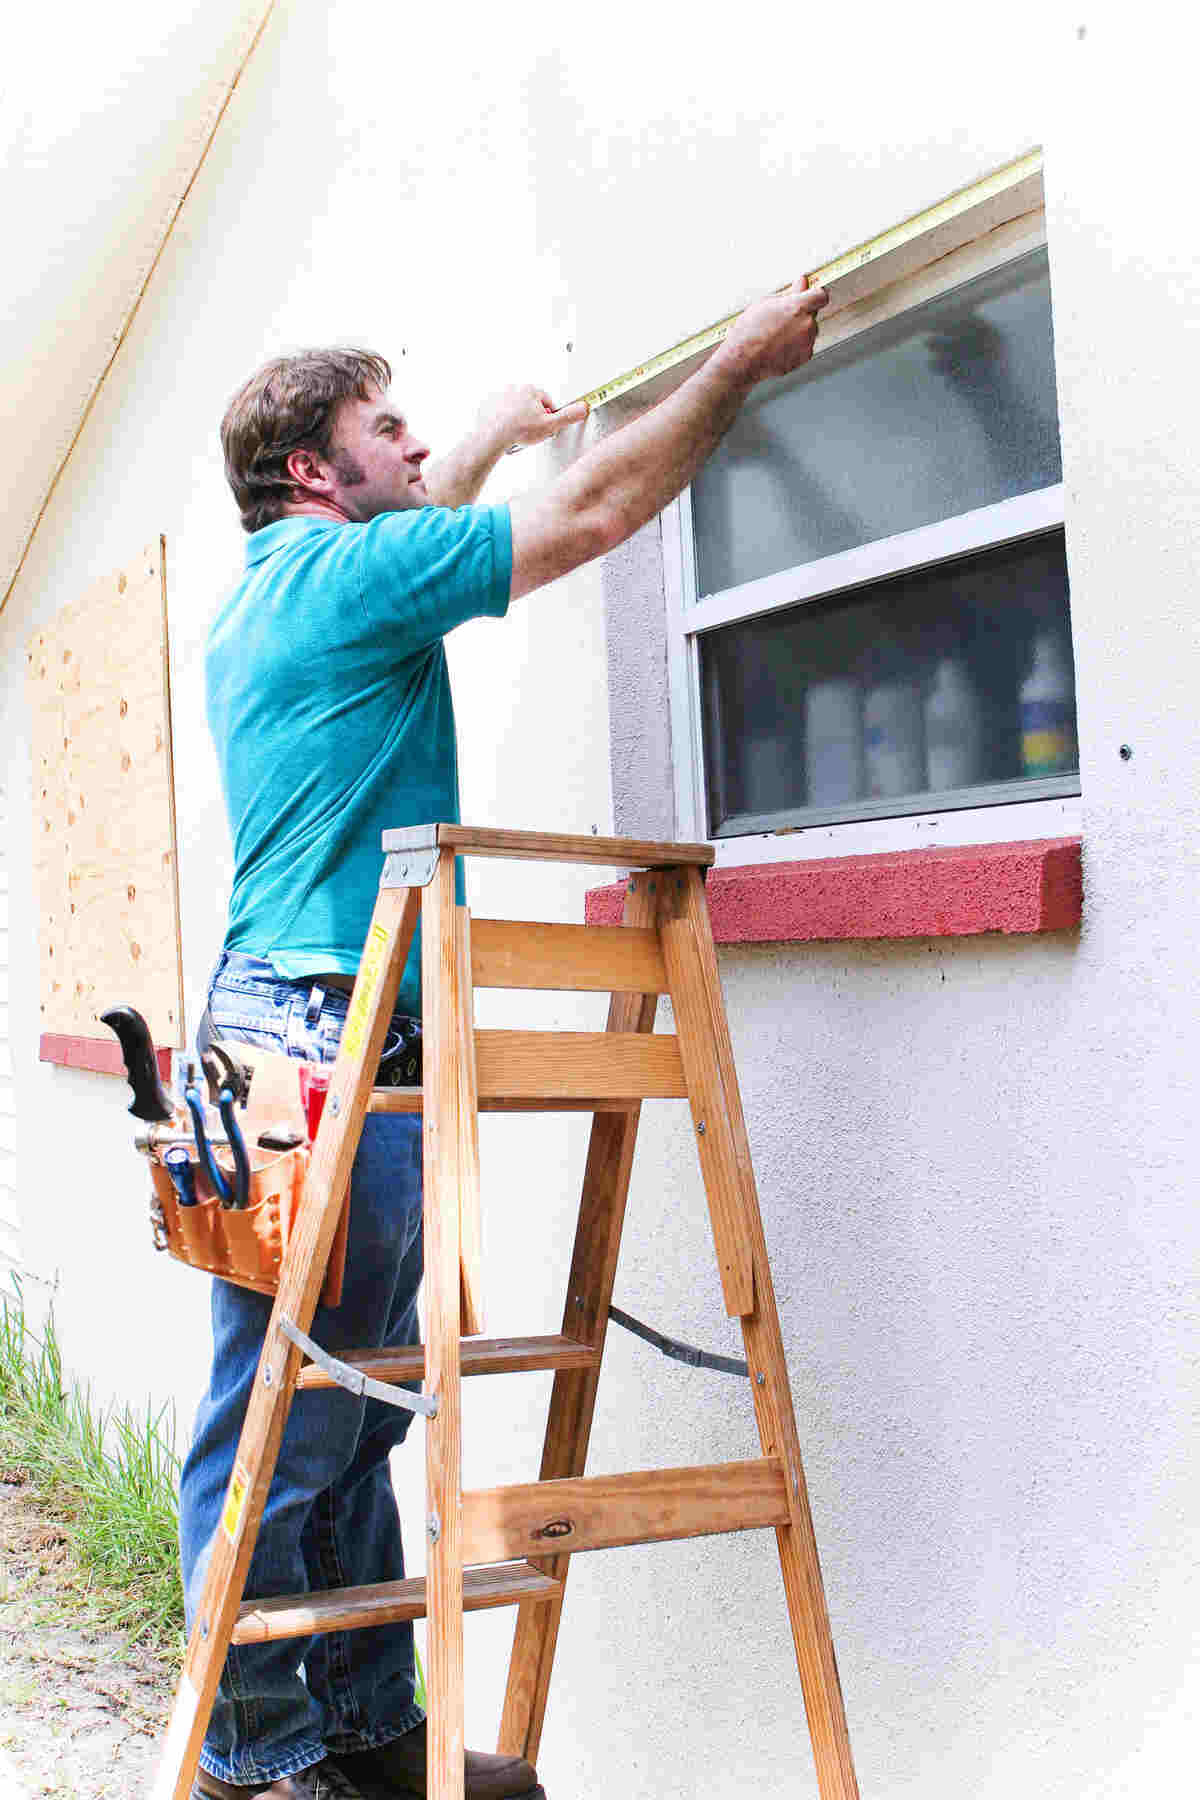
This is where low-pressure window foam works well if used properly. Remove any material and use two applications to fill the space to where the foam is over filled. Now trim this excess level to the wall/frame. Now using foil tape, cover the space between the window frame and the wall. This is a well-known upgrade that works. I have done this hundreds of times over the years on a home reno and the difference when standing at the window is immediate.
With the cost of windows and the extremes in climate there is a cost-reasonable option to help reduce your energy bills, known as interior storm windows. No, this is not the double-sided tape and the once and done plastic shrink film, these are actual windows.
Known as interior storm windows, they create a thermal buffer by trapping the air between your current window and the new clear storm window. They will provide significant heat savings for a fraction of the cost of a complete window replacement. This additional layer of acrylic or polycarbonate panel will limit air movement around an otherwise operational window.

Get the Green Building Project Checklist
Use this handy checklist on your next project to keep track of all the ways you can make your home more energy-efficient and sustainable.
You may hear the term “Plexiglass” – that is a brand name for acrylic sheeting. They work best if the present window is sound and fully operational with proper air seal in the frame and operational sections of the window. There are different kinds available, compression fit inserts are actual fitted inserts that are set on an interior trim and secured by permanent fasteners. They usually have a dense foam weatherstripping on the face edge, allowing a good air seal to the interior trim. These are popular in heritage homes where the original
windows are single glazed.
The other option that is similar are actual framed glass or acrylic panels that offer a more finished appearance and are usually custom fitted to the window. Both of these options are very effective, however they often come with a healthy price tag. They are a solid window that will need to be stored. If they are not properly fitted they will develop moisture behind them and professional installation is often recommended.
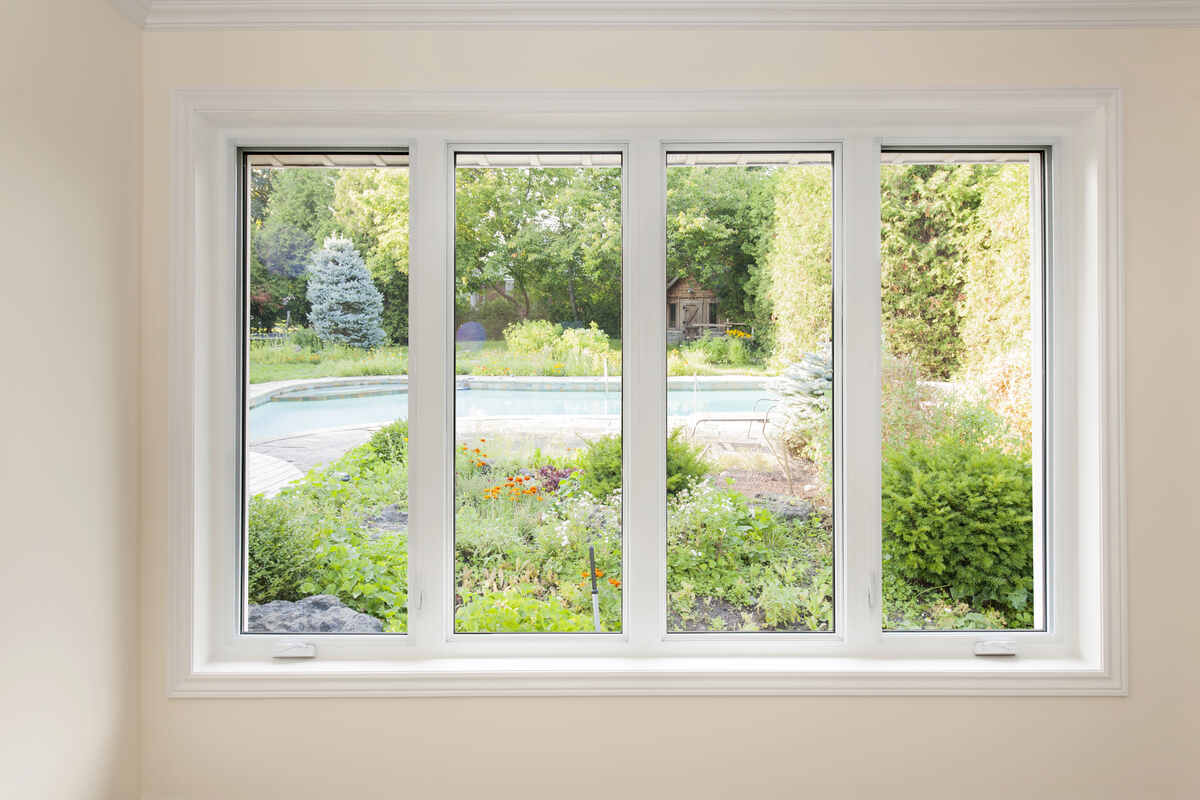
The next option and one I am going to try this winter on all of our north face windows are known as “Magnetic Storm Windows.” These clear plastic panels are attached to your existing window trim using magnetic and steel self-adhesive tape. This creates an additional airtight insulating layer that helps with energy loss and will reduce outside noise. The cost benefit of Magnetic kits vs compression fit or framed panel is significant.
The installation is not difficult, very DIY capable. The first step is to measure all your windows and allow for any window that is out of square. While it’s doubtful your actual window is not square, the installation of the trim around it may be so allow for this. Take your time here during measuring. Most magnetic kits recommend an overlap on the trim fit – ½” is common for both sides. The next step is to cut the acrylic sheet to the “exact” size and if your sheet is out of square, mark the corner.
There are two kinds of clear plastic material used for magnetic windows, acrylic and polycarbonate. Both have pros and cons with the acrylic being the most favoured of the two. The pros for acrylic are that this plastic has superior clarity, allowing 92 percent light transmission over the 88–90 percent for polycarbonate. It is easier to cut and usually quite a bit cheaper, sometimes upwards of 40 percent less than polycarbonate. Acrylic has very good UV stability and is resistant to yellowing from the sun’s rays.
The major benefit for polycarbonate is its strength, it’s virtually unbreakable so if your interior storm windows are in a high traffic area, this may be the better choice. Once you have cut your acrylic window to proper size, wash your
window trim with a good cleaner, TSP or any good ammonia-based cleaner are the best ones to remove grease or airborne contaminants that are common in any home. The next step is to cut the self-adhesive metal strips and here you should take your time to make sure that the strips fit snug to each other at the corners. Now attach the magnetic strips to the acrylic window, allowing for the
oversize on the edges and the same as the metal strip. They must fit snugly at the corners. This creates a full air seal on your window. The window sill can be a challenge and I intend to make up wood strips wide enough to hold the metal strips vertically. I will screw them onto the window sill in line with the trim on both sides of the window to make a level fit.
The last suggestion is most kits include wipes to clean the acrylic and with this step, take your time. Lay the sized piece on a clean table and wipe from one side to the other in a steady pattern. Then allow it to dry fully. There is one other type of magnetic kit and they are an aluminum foil foam type for reflecting heat. They are also used for privacy. I have seen this type installed on RVs. Magnetic interior storm windows provide a reusable, energy efficient upgrade to your home and they add a level of effective insulation value without replacing your windows.
Read more on this topic in When Is It Time to Replace Your Windows? Key Signs to Watch For»
Images from Depositphotos
Have a Home Renovation Question?
Write it down below and we’ll get back to you. All questions get answered – every week, we’ll select one for publication in the column.


